Brisk Breakfast · Snacks & Tiffin Items

Masala Dosa (Dosa crepes filled with Masala made with Potatoes and Spices.)

Masala Dosai
Masala Dosai

Dosa has always been a favourite of mine since I was a child. Dosa is practically a staple preparation for breakfast and dinner and of course an in between snack!!! Its a very versatile preparation and can be relished with so  many sides. I remember when  I was barely eight we bought the first official “Grinder” which was so huge and heavy and would almost grind enough batter to feed an army. It would be an elaborate event to grind the batter and clean the grinder after it. Then were the days of  the tilting wet grinder. Almost immediately there was the lovely chic Ultra Wet Grinder which was a table top version. When we moved to the U.S I missed the easy preparation of Dosa Batter in the grinder with little sweat. Last time I got the 1.25 litre ultra grinder on a 110V version and bought it with me all the way through customs, immigration and a volley of dirty looks by the Customs folks in New York JFK.!!!!

Making Idlis and Dosas in the US is really an art as one would have to find their own way depending on the type of rice, urad dhal, apparatus used for grinding, current weather conditions in where we live etc. We have different methods of fermenting  the batter  in the winter, summer,and  in the in-between sseasons of spring and fall!!!

Last weekend I had called my friend R, who loves any south indian preparation. She was relocating back to India and I thought Masala Dosa would be great as a dinner entree`. This is of course made of two parts….The delicious Masal filling and the Dosa Crepe.

INGREDIENTS:

2 Medium Sized Potatoes.

1 Onion Chopped in to thin long slices.

4 Green chillies sliced in to small pieces.

A handful of green peas.

1 Tbsp grated ginger .

1 spoon of bengal gram.

A pinch of turmeric.

Curry Leaves.

Cilantro to garnish.

Masal Filling.
Masal Filling.

PREPARATION OF MASAL FILLING:

  • Keep the Dosa Batter ready. For instructions on the same refer to my post here.
  • Peel the potatoes and cook them with water and salt in the cooker for just one whistle.
  • Cool, and mash in to pieces and set aside.
  • In a kadai, add 2 spoons of oil and when hot add mustard and allow to splutter.
  • Add bengal gram, curry leaves, green chillies, grated ginger and then the sliced red onions.
  • Add a pinch of turmeric and now allow to saute for some time.
  • Now add the mashed potatoes, peas, salt and mix it in well.
  • After a few minutes, switch off the heat and garnish with chopped cilantro.

PREPARATION OF MASAL DOSA:

DSC01925

  • Take the Dosa Tava , switch on medium heat and allow it to heat up well. Sprinkle a drop of water and when you hear the sizzle, you know for sure that the tava is heated enough.
  • Add a few drops of Gingely Oil and spread with a paper or tissue to make sure that the tava is well greased.
  • Take a ladle full of Dosa Batter and spread it with a Dosa Ladle on the tava. Lace the ends of the dosa with a few drops of oil.
  • Make sure that the dosa is spread out thin as we would not be turning it over.
  • Dollop a spoon of the prepared Masal and place it in the centre of the Dosa.
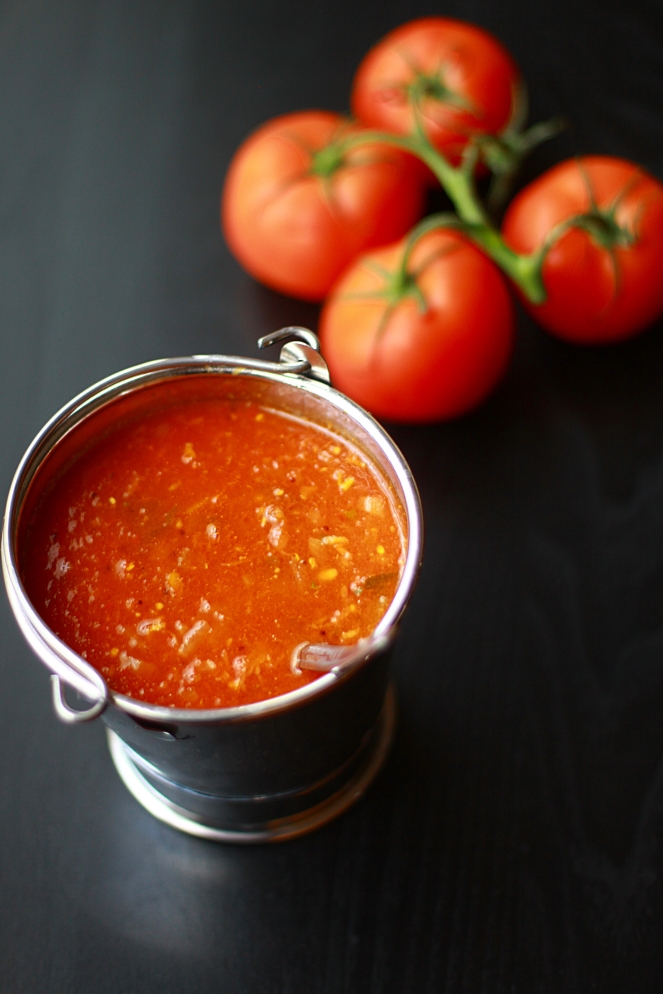
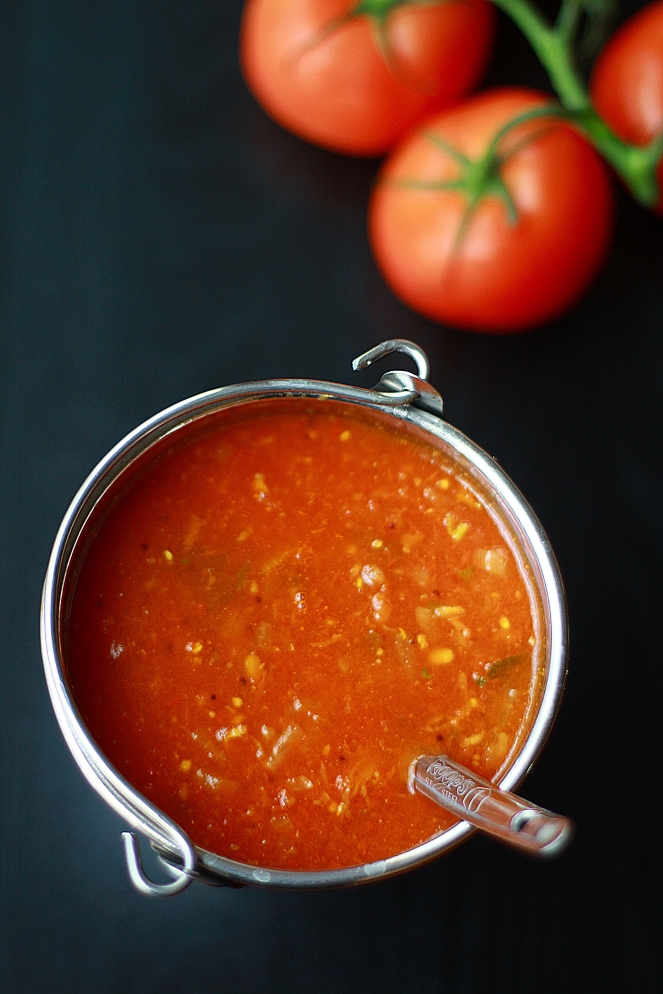
  • When the Dosa is cooked well close one end of the dosa over the other and serve on a platter with tomato chutney or pudina chutney.

Sending piping hot dosas to Divya`s Show Me your Breakfast Event at her blogsite.

Brisk Breakfast · Kerala / Palakkad Recipes. · Snacks & Tiffin Items

Easy & Wholesome Coconut Sevai using Instant Rice Noodles.

Delicious & Wholesome Coconut Sevai

Coconut is an integral part of my cooking but I have particularly brought down the levels of coconut on account of health concerns. My gradmother on the other had is of the opinion that anything had in small quantities can never be too much. Its only when you consume too much of anything, does it become bad for the health. I remember Madurai amma lavishing fresh coconut in Avail and Sevai and Elissery etc. This instant version of Coconut Sevai is a personal favourite on account of its ease of preparation, nevertheless yielding tasty and wholesome results everytime.This version is slightly different as I have also incorporated Thayir Molagaa as a seasoning ingredient….for additional flavour and taste.

Mor Molaga
Mor Molaga

INGREDIENTS:

1/2 pack of Rice Noodles or Instant Sevai cooked as per instructions and sprinkled with a spoon of Coconut Oil.

1 Tsp Ginger Chopped fine.

Curry Leaves.

3-4 Fried Thayir Molagaa or Mor Molagaa.

Mustard.

3/4 cup of Fresh Coconut.

2 Tsp of Broken Urad Dhal soaked in some water for ten minutes.

3 Green Chillies chopped fine.

Hing.

5-7 cashew halves.

Salt to taste.

PREPARATION:

  • Prepare the Rice Sevai/Rice Sticks using the instructions provided in the packaging. While allowing it to boil, add 2 drops of coconut oil in the water for added flavour and aroma. Drain in a collander.
  • In a small cup soak the broken urad dhal in water and set aside  for ten minutes., This adds volume and flavour in terms of seasoning to the dish.
  • Take a non stick kadai and place on the stove. Add 3 spoons of coconut oil (optionally Canola/Refined Oil) and when its beginning to get hot, add the “mor molaga” so it fries in the oil. (This ingredient is completely optional)
  • Now add chopped ginger, cashews, curry leaves, hing , mustard and when it splutters, add the soaked urad dhal after draining off all the water.
  • Saute for a couple of seconds and then add the grated coconut to the kadai.
  • Bring the flame to sim and now saute the coconut along with the spices, for 4-5 minutes.
  • The white fluffy coconut, after sauteing in the oil for a few minutes turns to a dull brown colour and also emits a wonderful aroma. Be very careful to keep the flame only on low as if the heat is more it would burn the delicate grated coconut .
  • At this point, add the rice noodles/sevai/rice sticks and mix well adding sufficient salt for the sevai.
  • Serve HOT with chips.

Passing on this cup to Lets Go Nuts – Coconut event, the brainchild of Aqua, hosted by Padmajha Suresh of Seduce your Tastebuds.

No Need of Onions!!! · Rice Varieties.

Corriander Rice Pulav with Vegetables.

Corriander Rice
Corriander Rice

Corriander has always been my all time favourite garnish. Now there are really two schools of thought on the subject of corriander garnish. My grandmother etc has always been on the opinion that a good dish prepared sumptously with ingredients in the right proportion, with devotion, can stand up for flavour and taste all by itself. It does not need a garnish of chopped corriander. I am of the opinion that even a simple dish can be elevated in taste and flavour by just a dash of a corriander sprig….Well…to each his own. TO think of a dish spiced completely with this aromatic leaf itself seemed to be a very welcoming thought…It was an inspiration from my earlier post Pudina Rice…I simlpy allowed my hands to pick up whatever It felt like and came up with this dish…

Today was a picnic at the Zoo, so it was a really tasty course with a side of Raitha and Chips. Do try it and hope you really like it.

INGREDIENTS:

A big bunch of Corriander Leaves.

5 Green Chillies.

1/3 cup of Dessicated Coconut.

1 inch piece of Ginger.

A handful of Cashew Halves.

2 cups of Basmati Rice cooked in 3 1/2 cups of water.

1/2 cup of Peas.

1/2 cup of chopped potatoes.

1/2 cup of finely chopped carrots.

1 cup of cauliflower floretts.

Salt.

PREPARATION:

  • Spread out the cooked Basmati Rice so it cools considerably before you mix in the vegetables.
  • Microwave all the vegetables except Peas, in the micro wave for 4 minutes.
  • In a mixer jar, place the cashews at the very base and then add chillies, ginger, 1 clove, corrainder and finally the coconut. We do this since corriander cannot stand up to pulsing in the mixer without water, we sandwich it between heavy ingredients.
  • Pulse without adding water and set aside.
  • In a wide mouthed kadai add 3 spoons of oil, 2 cloves, jeera, curry leaves and then add the half cooked veggies.
  • Add turmeric and salt for the veggies and allow to cook for some time.
  • Now add the ground paste and mix well and give it a couple more minutes to cook and the raw smell of the corriander to evaporate.
  • When the veggies and the paste have mixed in well add the rice little by little and mix it well taking care not to break the rice.
  • Add a dollop of ghee and serve HOT with onion and cucumber raitha.


No Need of Onions!!! · Side Dishes for Rotis/Dosas/ Naan.

Quick N Tangy Tomato Ginger Gravy.

IMG_0499

This is a quick side dish for Venn Pongal /Vada/ Chappathi/Dosa /Puris  and Idlis. It`s pretty much easy and simple to make but vrey delicious and appetising. I remember one time when my mami made this for Pongal. We simply lapped it up!!! Yeah…its that good!!!

INGREDIENTS:

4 Big Slicing Tomatoes or Tomatoes on the Vine. Double the quantity for Roma.

1 inch Ginger finely grated.

3 Green Chillies vertically slit.

1/2 spoon Red Chilli Powder.

Salt.

Hing.

Mustard.

Turmeric.

PREPARATION:

  • Puree all the tomatoes in the mixer without adding much water and set aside.
  • In a kadai, add a spoon of oil and when hot, pop in mustard, broken urad dhal and curry leaves.
  • When the mustard splutters, add grated ginger, slit green chillies, curry leaves and a pinch of hing.
  • Allow a couple of seconds to saute and then immediately add the pureed tomato.
  • If needed, you can add 1/8 cup of water to the mixer and after a quick shake, pour it in to the kadai.
  • Add turmeric, salt and  red chilli powder and stir in well.
  • Simmer for about ten minutes and switch off heat.
  • Serve garnished with chopped cilantro.

IMG_0496

HINT:

As an option to increase the volume in case  a large serving is needed, is to saute the onions after the seasoning and then add the tomato puree. This version is made with tomatoes but it can be made without on a day when no onions need to be  consumed.

Kid Friendly Recipes. · No Need of Onions!!! · Snacks & Tiffin Items

Crunchy & Delicious Vazhakkai Chips ( Raw Banana slices fried in oil and spiced with powders)

DSC01722

Madurai amma`s favourite all time chips was the Raw Banana Chips. When we were in school, she would suddenly pick a fresh bunch of green and firm Raw Bananas from her favourite street hawker in Ranganathan Street and immediately would decide on making chips with them. That was the criteria…the raw bananas HAD to be fresh, firm almost just plucked from the tree!!! She would come back home and instruct me to peel it and with the  help of the Anjali Slicer, would directly slice them on to the hot oil and flavour them with spices and powders. She would then place them on a cool dry container and store it air tight for almost a week. With the advent of Hot Chips, I must admit that much of our chips making was cut down quite a bit. But there is nothing like home made chips!!! This week when I saw the raw bananas that my husband had picked from the Indian Store, I was suddenly reminded of my grand mother  and her impulsive plan to make Raw Banana Chips and I was suddenly craving for them. This weekend I treated my family( and me of course!)  to some fried goodness…..

INGREDIENTS:

2 Fresh Raw Bananas which feel firm to touch.

Oil to fry.

1 1/2 spoon of Red Chilli Powder.

1 spoon of Salt.

Hing.

PREPARATION:

DSC01721

  • Peel all the raw bananas and using a Mandolin or your knife, slice them cross section in to thin circles.
  • The more thin the slices are the easier to fry to crispness.
  • Place them all on a plate to dry out a little and this also makes it easier to pop them in to the oil.
  • Combine the red chilli powder, the salt and the hing in a little dish and keep ready.
  • Keep sufficient oil on a kadai and place on a stove set to Medium High.
  • When the oil is sufficiently hot , pop the sliced Raw Banana pieces one by one.
  • Keep the number always at a manageable level and dont crowd the kadai with too many chips as they wont fry well.
  • Allow to fry well on both sides.
  • Keep a collander lined with tissue on the side and drain all the chips on to the collander.
  • When still hot from the oil. sprinkle the spice powder liberally on both sides of the chips.
  • As the fried slices do not have any salt on their own, its the spice seasoning that renders the taste .
  • Repeat procedure until all the slices are fried.
  • Store in an air tight container and serve as a side with Rasam or as an awesome evening snack.

Sending a canister of these fried goodness to WYF – Fried Snack Event getting hosted at SimpleIndianFood.

logo

Kid Friendly Recipes. · Milk Shakes

Cool & Fun – Cotton Candy flavoured Sno-Cones.

Cotton Candy SnoCone

This week was particularly hot and my daughter was yearning for her favourite Sno-Cones.Of couse she would`nt mind having it even on a cold winter day…but that’s a totally different story altogether. Last weekend when I had been to the store I picked out some colourful Sno-Cone serving cups.  It was in colourful plastic and it seemed to serve as a drinking /sipping cup for juices. I was waiting to use them and when S wanted a Sno Cone so I decided to have one for myself.

Sno-Cone Cups.
Sno-Cone Cups.

INGREDIENTS:

10 pieces of Ice .

Cotton Candy Flavouring.

Sno-Cone Cups.

PREPARATION:

  • Pop 10 -12 pieces in to the mixer and crush the ice and immediately drop it in to a glass or the Sno-Cone Cup.
  • Dash 4-5 spoons of Cotton Candy Syrup on to the crushed ice.
  • Enjoy while ice cold!!!!
Side Dishes for Rotis/Dosas/ Naan.

Delicious Brinjal Gothsu (Tamarind Gravy of Onions, Tomatoes and Brinjals- Side for Pongal)

Brinjal Gothsu

I guess Brinjal Gothsu was some thing I have neverhad much in my own home. There  was this one hotel in Madurai, that used to serve steaming hot blobs  of ghee laden Venn Pongal with spicy Brinjal Gothsu. TIt`s a very versatile preparation and so homes in Tamil Nadu, all have their own way of preparing the same. My mother in law also makes awesome tasty Gothsu, and she once used the base of the morning rasam for Gothsu for the night. Rehashing ingredients sometimes is more tastier than the original preparations. This combination always works as the sweet spicy tanginess in the Gothsu compensates for the peppery niceness of the Pongal. Iguess this is what my telugu friends refer to as “Gojju”. When you have guests for breakfast, Gothsu is an easy tasty side for Pongal/Dosa and Idli.

INGREDIENTS:

1 long Japanese Eggplant diced in to 1 inch cubes.

1 1/2 cups of tamarind water.

1 Onion diced in to small cubes or 15 shallots sliced in to halves.

1 Tomato chopped in to fine pieces.

1 Spoon Sambar Powder.

1 spoon of Rice Flour diluted in 4 spoons of water.

Hing

Turmeric.

Salt

Cilantro to Garnish.

Curry Leaves, Mustard & Urad Dhal for seasoning.

PREPARATION:

  • Take a kadai and place on the stove. Pour 2 spoons of oil and add urad dhal, mustard seeds and curry leaves. Keep the diced vegetbles ready to be used.
  • When the mustard splutters, add onions and allow to saute till soft. Now add the tomatoes and mix well.
  • Tap in a pinch of hing and  turmeric and cook till the tomato-onion mixture is mushy.
  • Now add the diced eggplants, sambar powder, salt and mix well.
  • Add the tamarind water and  allow around ten minutes for the brinjals also to cook in to the mixture and get soft.
  • When its a little thick, add the rice-flour water to the kadai.
  • Add some more water depending on what you want the final consistency to be.
  • Normally it would be a little thicker than “Sambar” but thinner than a chutney or dip.
  • Garnish with chopped cilantro leaves and serve hot with Venn Pongal.


Brisk Breakfast · Easy LunchBox Series. · Snacks & Tiffin Items

Onion Ragi Rava Dosa – Healthy & Tasty Tiffin Options.

Ragi Rava Dosa
Ragi Rava Dosa

Rava Dosa is always my husband`s most favourite breakfast/tiffin/dinner entree. Any day is Rava Dosa day even if I am not able to make his favourite coconut chutney to go with  it. Add  a dash of finely chopped onions and his day is made. Last night I was pretty much stumped on what to make for dinner and when I was rummaging in the pantry I saw the unopened packet of Ragi Flour that my husband had bought from the Indian Store. I gave him an option of Rava Dosa adding ragi flour for health and he welcomed the idea. I had some shallots that I had peeled earlier so I chopped them in to tiny pieces and set them aside. Ragi Rava Dosa with onions was a great healthy dinner/tiffin option. With Molagapodi or Chettinad Onion Tomato Chutney, it was simply divine.

INGREDIENTS:

1 cup Roasted Rava.

1/2 cup Ragi Flour.

1/2 cup All Purpose Flour.

1/2 cup Rice Flour.

1/4 cup of Sour Buttermilk if available.

Approximately 4 cups of water.

2 spoons of Jeera.

1 spoon of Whole Black Pepper .

4-5 Green Chillies finely chopped.

Curry leaves.

1 Tsp finely grated ginger(Optional).

Curry Leaves.

Hing.

Salt.

PREPARATION:

  • Mix all the dry ingredients – the flours in a wide mouthed vessel. Add salt and set aside.
  • Add requisite water and the sour buttermilk(if available) and use a whisk to mix it in to a smooth watery batter in pouring consistency.
  • Keep a seasoning kadai on the stove and add 2 spoons of oil. When its hot add jeera, black pepper, ginger, curry leaves and hing.
  • When this is well roasted in the oil add this to the  watery batter and mix well.
  • Put the Dosa tava on the stove and pour requisite oil.
  • Now sprinkle a little bit of the onions and then pour the dosa batter over it.
  • The dosa cannot be spread as in the case of a regular dosa. The ends should be poured first in a circle and the rest of the dosa filled in by pouring.
  • Add oil around the edges and slowly turn over to the other side after a few minutes.
  • When the dosa is flipped allow a couple of seconds to cook on this side.
  • Fold and serve on the plate with Chettinad Tomato Chutney or Coconut Chutney.
Kerala / Palakkad Recipes. · No Need of Onions!!! · Poriyals / Kootu Varieties.

Vazhakkai Podimas (Raw Banana half cooked,grated, and spiced with powders)

Vazhakkai Podimas.
Vazhakkai Podimas.

Vazhakkai as in Raw Bananas already mentioned are a favourite in my family. They are readily available and when properly preserved in the refrigerator, almost stays fresh for a week or more. I never make raw bananas the day I buy them,  unless I am tempted to slice them to topple in hot oil to make fresh fresh chips spiced with salt and red chilli powder.  This time I was having a very good friend visiting and I made this for dinner. It`s a very healthy preparation as it basically cooks the raw bananas in water until they are half done, grates them and completes spicing it up on the kadai. Easy, healthy and of course quick.

INGREDIENTS:

2 Raw Bananas.

5 cups of water.

Salt.

Hing.

Turmeric,

3 spoons of boiled rice.

1  spoons of toor dhal.

1 spoon of bengal gram.

1 spoon of Dhania.

Curry Leaves.

5 Red Chillies.

PREPARATION:

  • Splice the raw banana in to two halves. without peeling the skin off. In other words, keep the skin and stalk on intact.
  • Put a container with 5-6 cups of water on the stove and allow to heat.
  • Now drop the raw banana halves in to the water and close with a lid. Allow approximately 6-7 minutes of cooking time.
  • Switch off the heat and allow a few minutes to cool.  Drain off all the water and now you will be able to easily peel the skin off.
  • The bananas should be half cooked and firm and not mushy as this will render them impossible to be grated.
  • Grate the half cooked banans and spread them on a plate. Sprinkle salt and hing and allow to settle.
  • Roast the boiled rice, toor dhal, bengal gram, red chilies and the curry leaves and grind to a coarse powder in the mixer.
  • In a kadai, add 2 spoons of oil, mustard seeds, urad dhal, curry leaves and hing and then the grated raw banana.
  • Mix well and then add the roasted ground powder. Add another 2 spoons of oil and switch off when done.
  • Serve HOT with Onion Sambar and Garlic Rasam.


Brisk Breakfast · Easy LunchBox Series. · Kid Friendly Recipes. · Snacks & Tiffin Items

5 Minute Tomato Cilantro Cheese Sandwich!!!

Onion Tomato Cheese Sandwich

I distinctly remember the first time ever I made a sandwich using a sandwich maker. My aunt had got us a Rowenta Sandwich Maker from the US some fifteen years ago…when it was still unheard of in India. My mom was not too keen to switch to alternate ways of making bread. In her mind, it was pretty satisfactory to toast the bread on a tawa and have it with butter once in a blue moon. My sister was way too young. The others could simply not muster enough time to sit through the ardous task of getting a pin converter and reading the instructions to even start operating it. I had rememberd seeing litttle gadgets in the Home Life Exhibitions, where they had a little bread shaped steel thing, where you could place the bread with the filling and manually toast it over the flame, holding it with the handles provided. It was a novel way of presenting the mundane bread. So I set aside a sunday morning to experiment…and my cousins were only too happy to sample the results of my venture!!!

The first time, I greased the electric plates, placed the bread slices on both sides and wondered what to fill in? I simply pulled out an onion and a tomato and sliced them in to very thin pieces and gingerly placed them on the bread. Sprinkled salt and pepper and some cilantro and covered the filling with the second slice of bread. We all waited with bated breath and were rewarded with the sweet smell of the onions and tomatoes and cilantro roasting in the little apparatus. Three minutes later, the red indicator light switched off and I used a pair of tongs and retrieved the sandwich pieces which were already sliced in to two by now. Crisp on the sides, yet cooked on the inside, it was a tasty treat that morning. From then on it was my own little piece of work as I would find creative fillngs for sandwiches. Bread now had a new intonation in our home….The sandwich had finally arrived!!!

INGREDIENTS:

4 slices of bread.

1 tomato sliced very thin.

1/2 onion sliced thin.

Salt.

Pepper.

Cilantro chopped fine.

A handful of Part Skim Mozzarella Cheese.

Sandwich Maker.

PREPARATION:

  • Grease the 4 electric plates with cooking spray and allow to preheat for a few minutes.
  • Place the bread slices and arrange the tomato and onion slices alternately.
  • Sprinkle salt and crushed pepper and then generous helping of Mozzarella Cheese.
  • Sprinkle the cilantro and then place the second slice of bread and close.
  • After about 3 minutes, take out golden brown, crusty on the sides, Tomato Cilantro Cheese Sandwich.
  • Serve HOT with yummy tomato ketchup.

HINT:

Serves as an excellent breakfast and quick snack for kids when they come back from school.

Great for packing for short trips and Picnic Lunches, as they are easily eatable with no fuss.

Variations in the filling give an almost completely different taste to the sandwich.

Use peanut butter, apple butter, Alu Masal, Cheese, fruit slices, grilled veggies etc for fillings.

Packing away some, for the Cooking for Kids Event hosted by Divya of Dil Se and brainchild of Sharmi of Neivedyam.


cookingforkidslogo